How to Make Hazelnut Flour
Ever since I discovered hazelnut flour, my baking adventures have been nothing short of delightful. There’s something about the rich, nutty flavor and unique texture of hazelnut flour that adds an extra layer of deliciousness to my baked goods.
Over the years, it has become one of my favorite ingredients for making everything from cookies and muffins to cakes and even pancakes. Not only does it bring a delectable taste to my creations, but it also adds a touch of health and wholesomeness. I simply can’t get enough of it, and I’m thrilled to share how to make your hazelnut flour at home!
What Is Hazelnut Flour?
As the name suggests, hazelnut flour (or meal) is made from ground hazelnuts. It’s a popular alternative to traditional wheat flour, especially in gluten-free and low-carb recipes.
Flavor and texture
Homemade hazelnut flour has a distinctive, rich, and nutty flavor that closely resembles the taste of whole hazelnuts and differentiates it from other flours. Its slightly sweet taste makes it an excellent choice for baked goods and desserts.
The texture of hazelnut flour is fine and delicate, which results in a light and tender crumb in baked items. As we will discuss later, it can be very fine or mealy and crunchy. If you blend it for longer than recommended, the hazelnut bits will release oils and have a smooth and butter-like consistency.
Why Make Hazelnut Flour at Home?
You may wonder why you should make hazelnut meal at home when you can easily buy it from a store. There are several advantages to making your own flour; the following are the main ones.
Cost savings
One of the main reasons to make it at home is cost savings. Commercial hazelnut flour is often one of the most expensive nut flours on the market. It’s especially expensive if you compare it to regular flour. On top of that, it may not always be readily available in stores.
Making it yourself just requires buying the nuts in bulk and grinding them into flour as needed. This can significantly reduce your overall expenses.
Improved freshness and taste in baking and cooking
Additionally, you can ensure the flour is as fresh as possible. The flour purchased from a grocery store may have been sitting on the shelf for some time, losing some of its natural flavors and aroma. On top of that, commercial hazelnut flour undergoes heavy processing and is exposed to high temperatures. On the other hand, homemade hazelnut meal will have a more vibrant taste and scent. That alone can significantly enhance the flavor of your baked goods and dishes.
Better quality control
Lastly, preparing it yourself gives you complete control over the quality of the final product. You can choose the highest quality hazelnuts and control the fineness of the grind. This level of control ensures that you’re using the best flour possible.
Getting Ready to Make Hazelnut Flour
Before grinding your hazelnuts into flour, you should ensure you have everything you need. I will guide you through the necessary ingredients, tools, and key aspects to consider.
Ingredients and tools
To make hazelnut flour, you’ll need some essential ingredients and tools. Here’s a list of what you’ll need:
- Hazelnuts (as discussed in the previous subsections)
- A food processor or blender to grind the hazelnuts into flour (Tip: make sure it is completely dry before use, as any moisture can cause the hazelnut flour to clump or become paste-like.)
- A large bowl to collect the flour
- A fine mesh strainer or sieve for sifting the hazelnut meal (Optional, but more on this later)
Quantity considerations
When making this flour, it’s essential to consider the quantity of hazelnuts you’ll need. As a general rule of thumb, 2 cups of whole hazelnuts will yield approximately 1 cup of flour.
There may be a slight variation in this ratio depending on the fineness of the grind. However, it’s a good starting point for determining how many hazelnuts you’ll need to make the desired flour.
The importance of roasting hazelnuts before making flour
Roasting hazelnuts before grinding them into flour enhances their natural flavors and aroma, creating a richer and more robust flour.
Preheat your oven to 350°F (175°C) and spread the nuts evenly on a baking sheet. Toast them for 10-15 minutes or until they become fragrant and golden brown, stirring occasionally for an even roast. Don’t forget to keep an eye on them to prevent them from burning.
Once roasted, let the hazelnuts cool before grinding them into flour. Check our hazelnut roasting guide for a more thorough description of the whole process.
Should you make flour from raw hazelnuts?
While making flour with raw hazelnuts is possible, doing so may result in a less flavorful product than flour made from roasted nuts. The texture of raw hazelnut flour may also be slightly different, as the nuts may retain more moisture. In other words, roasting the nuts beforehand will enhance the quality of the flour.
However, if you prefer the milder taste of raw hazelnuts or have specific dietary requirements, you can certainly make flour with unroasted hazelnuts.
How to Make Homemade Hazelnut Flour
Throughout this chapter, I’ll guide you through the process of making hazelnut flour using a food processor or blender. I used a blender for this guide, but the steps are similar if you use a food processor. Follow these straightforward steps:
Measure and roast the hazelnuts
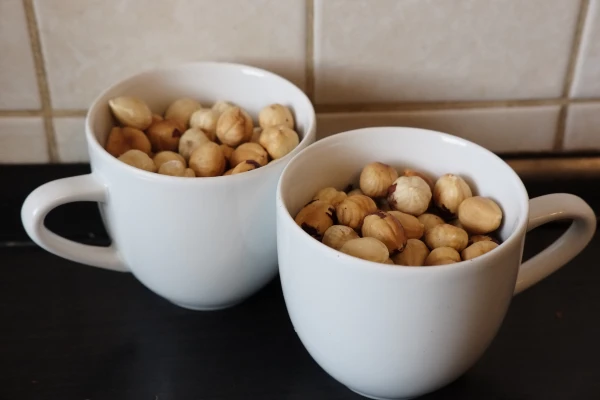
Based on the earlier hazelnut quantity considerations, measure the desired amount of hazelnuts. Roast them according to the instructions in the previous chapter. When they cool down, place them in the blender or food processor.
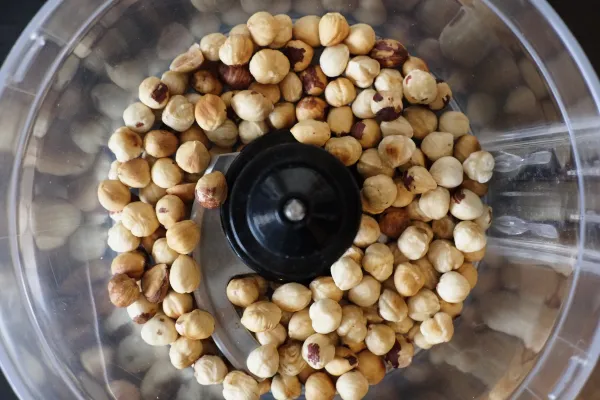
Blend the hazelnuts
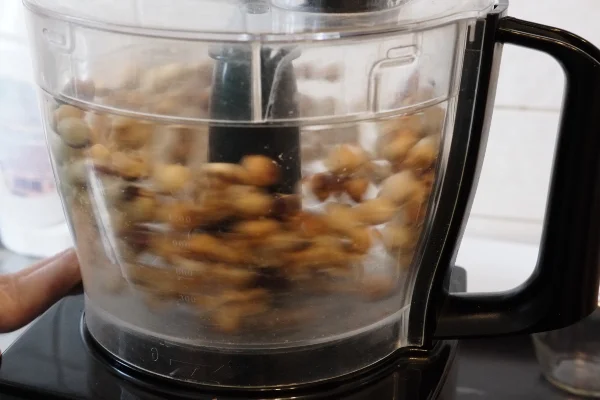
Pulse the hazelnuts in short intervals until they become fine flour. Be cautious not to over-process, as it will cause an increased release of the natural oils and turn into hazelnut butter.
The time needed to achieve the desired flour consistency depends on some factors, such as the power and efficiency of your blender. It will generally take longer to process roasted hazelnuts, with an average time of 8 to 10 minutes, compared to around 1 minute for raw hazelnuts.
Check the consistency
Periodically stop the blender or food processor to check the consistency of your hazelnut flour. If needed, scrape down the sides and give the blender a few shakes to ensure even grinding. The final texture should feel like sandy flour, slightly grainier than the traditional one.
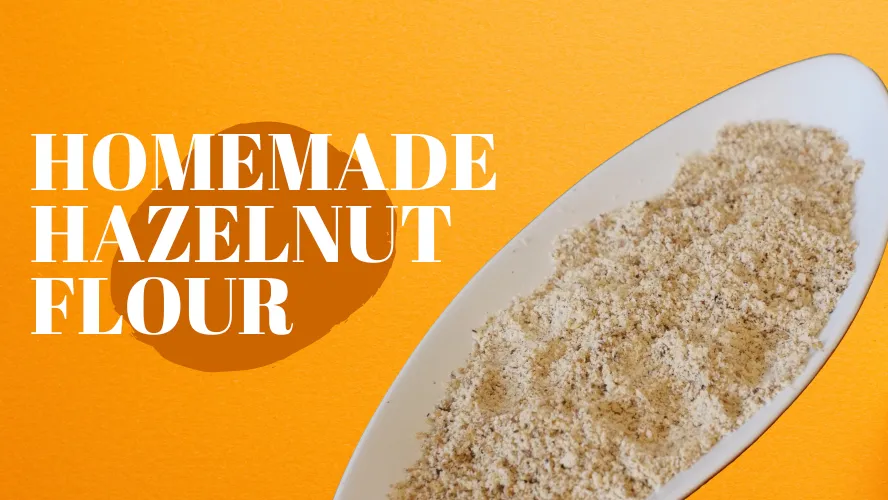
Your hazelnut flour is ready (or almost)
With the grinding process complete, you now have homemade hazelnut flour. However, you might notice a few uneven bits in the mixture. To achieve a finer consistency, continue reading for sifting and refining your hazelnut meal.

Sifting Hazelnut Meal into fine Flour (Optional)
Sifting hazelnut meal is optional if you desire a fine flour consistency for your recipes. This process helps to remove any larger particles or remaining hazelnut skins, resulting in a smoother and more delicate texture. If you’re using hazelnut flour in recipes that call for a refined texture or where the appearance is crucial, sifting can make a noticeable difference in the final product. To sift the hazelnut meal effectively and achieve a finer flour consistency, follow these simple steps:
Gather your equipment
Make sure you have a fine mesh strainer or sieve, a plate or bowl, and a spatula or spoon to help push the meal through the filter.
Place the strainer over the bowl
Position the fine mesh strainer over the bowl, ensuring it is stable and catches the sifted flour.
Add the hazelnut meal to the strainer
Gradually pour the ground hazelnut meal into the strainer without overloading it. Overfilling it can make the sifting process harder and less effective.
Sift the meal
You can use a spatula or spoon, or simply agitate the hazelnut meal. This will make the finer particles pass through the mesh and into the bowl. In contrast, the larger particles and remaining skins will be left behind.

Repeat as needed
If you still have a significant amount of bigger particles left in the filter, transfer them back to the blender or food processor and pulse a few more times to further break them down. Then, sift the meal once again to achieve a finer consistency.
The number of repetitions depends on your blender and the amount of hazelnuts. In my case, it took me three additional times to achieve the consistency I wanted. Once you’ve filtered the entire batch, you’ll have a bowl of finely-textured hazelnut flour.

Hazelnut Flour Uses
Hazelnut flour is an exciting and versatile ingredient that can add a unique twist while providing nutritional benefits. Let’s have a look at its uses.
Can you substitute hazelnut flour for all-purpose flour?
Hazelnut flour can be used in baking as a substitute for traditional flour. However, it’s important to remember that it behaves differently due to its unique properties. While you can use it as a replacement, it’s not an exact equivalent.
Hazelnut meal is gluten-free, which means it lacks the elasticity and structure-building properties of gluten-containing flour. Consider mixing it with other flours to obtain the desired texture and structure when using it as a substitute.
Ideas of What to Make with Hazelnut Flour
Hazelnut flour’s distinctive flavor and texture make it a delightful addition to numerous dishes and treats. Here are some ideas:
- Cookies: Hazelnut cookies are one of my favorite ways of using this flour. It also combines very well with chocolate chip, shortbread, and butter cookies.
- Muffins: Hazelnut flour lends a rich, nutty flavor to muffins, making them delicious for breakfast or snacks. Try adding it to banana, apple, or pumpkin muffin recipes.
- Energy bars and balls: This nut flour can be combined with dried fruits, nuts, and seeds to create nutritious and delicious energy bars or balls.
- Toffee: This nutty flour adds crunch and depth of flavor to homemade toffee recipes.
- Granola: You can enrich your homemade granola by incorporating hazelnut meal for added texture and flavor.
- Pancakes: Create a wholesome and satisfying breakfast by adding hazelnut flour to your pancake batter. It pairs well with maple syrup and fresh fruit.
- Breadcrumb substitute for meatballs: Did you know you can use this flour instead of breadcrumbs when making meatballs? It will add a distinct flavor profile and texture.
- Pesto: Homemade pesto is also an excellent way of incorporating hazelnut flour. Use it instead of traditional pine nuts. A distinctive nutty flavor complements the fresh basil and garlic in the sauce.
The following are just a few ideas to get you started. The possibilities are endless, so don’t be afraid to get creative and try new recipes with this versatile flour.
How to Store Hazelnut Flour to Maintain Freshness
To ensure hazelnut meal stays fresh and retains its flavor, store it in an airtight container. Ideally, you should use plastic or glass containers with tight-fitting lids. Avoid placing the container in direct sunlight or near heat sources; instead, store it somewhere cool and dark, like a pantry or cupboard.

Shelf life of hazelnut flour
Hazelnut flour has a shorter shelf life than regular all-purpose flour due to its higher oil content. When stored properly, it can last up to 1 month in the fridge. However, you can freeze it for up to 3 months to extend its shelf life. I don’t like leaving it at room temperature due to its sensitive oils.
How to tell if hazelnut flour has turned bad
Spoiled hazelnut flour may have an unpleasant, rancid odor or taste. Additionally, the texture might become clumpy or oily. Whenever you notice any of these signs, it’s advisable to discard the flour and replace it with a fresh batch.
Health Considerations
As you incorporate hazelnut flour into your recipes, it’s essential to understand its health implications and how it may impact your dietary choices. Let’s examine some important health considerations.
Is hazelnut flour low-carb?
Hazelnut flour is considered a low-carb option as opposed to traditional wheat-based flour. While the exact carb count may vary depending on various factors, one cup of hazelnut flour typically contains around 20 grams of carbohydrates.
How many calories are in hazelnut flour?
Due to its high-fat content, there are many calories in hazelnut flour. One cup contains approximately 720 calories. Although it may be higher in calories than other flours, its nutritional benefits, such as healthy fats and fiber, make it a valuable addition to a balanced diet.
Is hazelnut flour keto-friendly?
Yes, hazelnut flour is keto-friendly. The low carbohydrate and high-fat content make it an excellent choice for ketogenic diet followers. It can be used to create various keto-friendly baked goods and dishes, allowing you to eat delicious treats while staying true to your dietary restrictions.
Is hazelnut flour gluten-free?
Yes, hazelnut flour is naturally gluten-free, so it’s great for people with celiac disease or gluten sensitivity. It can be a gluten-free alternative in various recipes, from baked goods to savory dishes.
Allergy considerations
It’s imperative to remember that nuts are the source of hazelnut flour, and individuals with nut allergies should avoid it. If you are allergic to nuts or suspect that you may be, it is imperative to seek the advice of a health care professional before adding them to your diet. Always be cautious and consider the needs of family members or guests when preparing food that contains hazelnut flour.
Final Thoughts
Making hazelnut flour is not only rewarding, but it also opens up a world of culinary possibilities. Whether you’re baking mouth-watering desserts, preparing savory dishes, or looking for healthier alternatives to traditional flours, hazelnut flour has so much to offer.
So go ahead, give this nut flour a try, and embrace the endless possibilities it provides. May it inspire you to create delicious and nutritious dishes for yourself, your family, and your friends